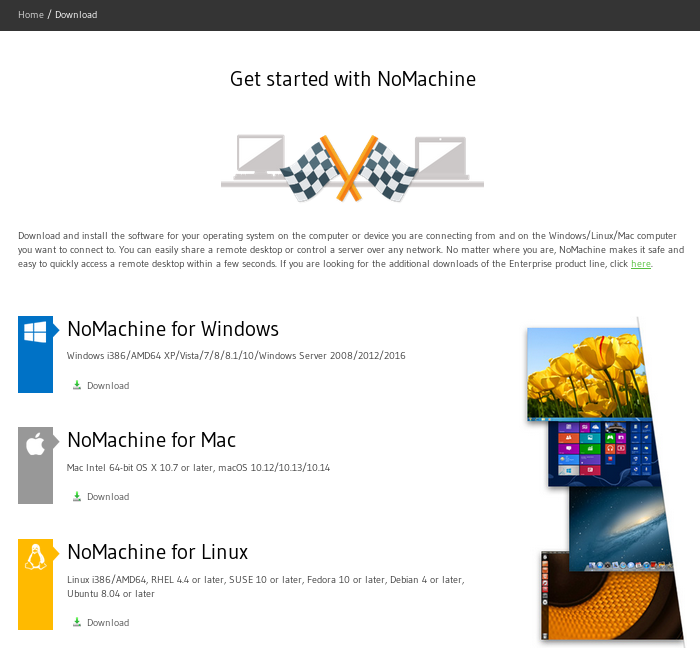
The previous remote Linux desktop client (X2Go) is no longer supported on SCIAMA. For SCIAMA-4 we have purchased licenses to run NoMachine terminal servers on login1 and login2. The client can be downloaded from the official NoMachine website.
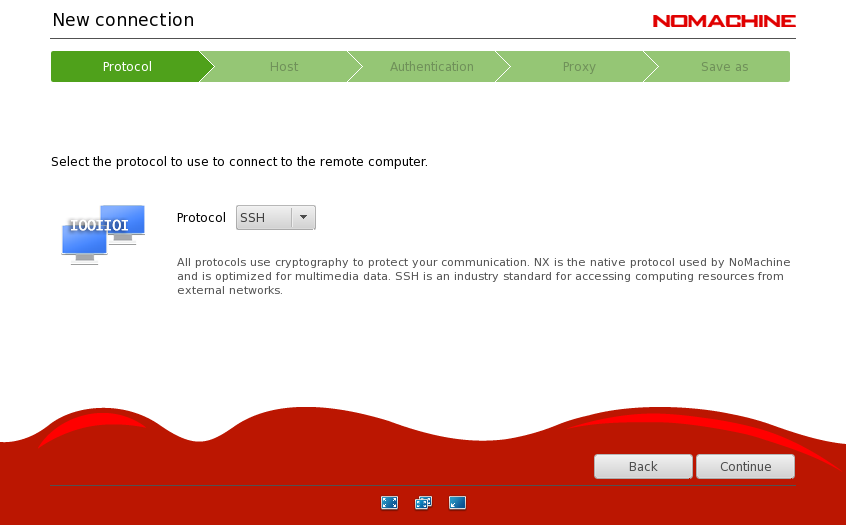
- Once it is installed, open the client and click on “New” to create a new connection. Select SSH as the connection protocol
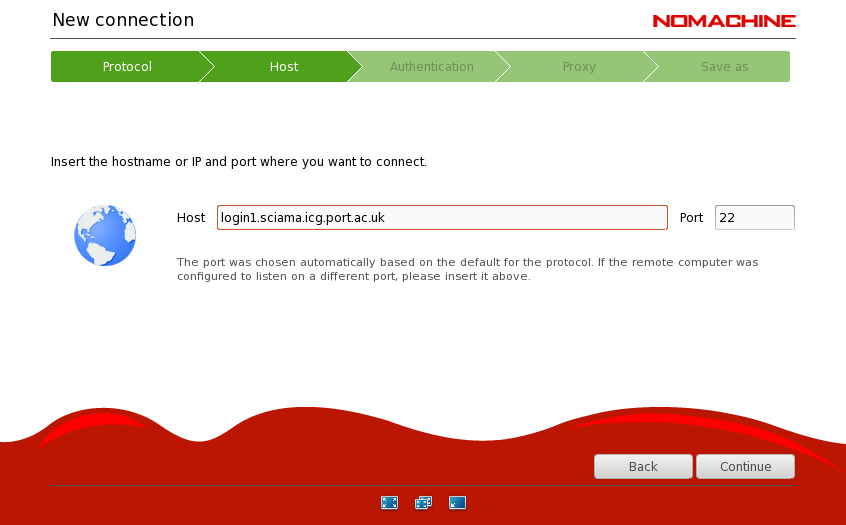
- Enter the URL pointing to either the login1 or login2 SCIAMA login server:
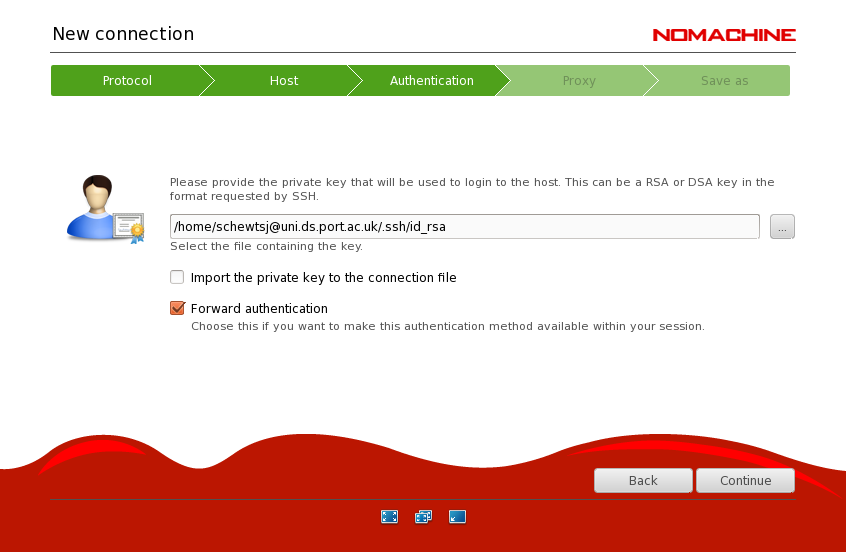
- For the authentication, select to ‘Use the system login’ and the ‘Private Key’ method. You should be then prompted to select your private key. Also you may want to allow ‘Forward authentication’ for NoMachine to work with authentication agents on your computer:
- To finalize the setup, select that you are not using any proxy (unless your current local network requires it) and name this connection configuration.
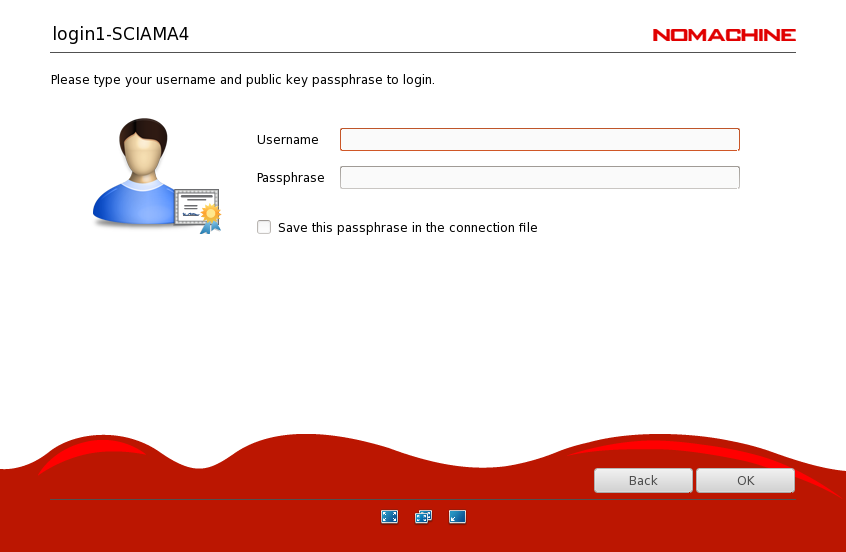
- You can now try to use this connection. You will be asked for your username (i.e. your SCIAMA account) and for the passphrase of your private key
 You may be now asked to verify the SSH fingerprint and whether you want to ‘create a new virtual desktop’ (or maybe restore a previously created one)
- Once you have successfully connected, you should have a window containing your virtual Sciama desktop up and running.